
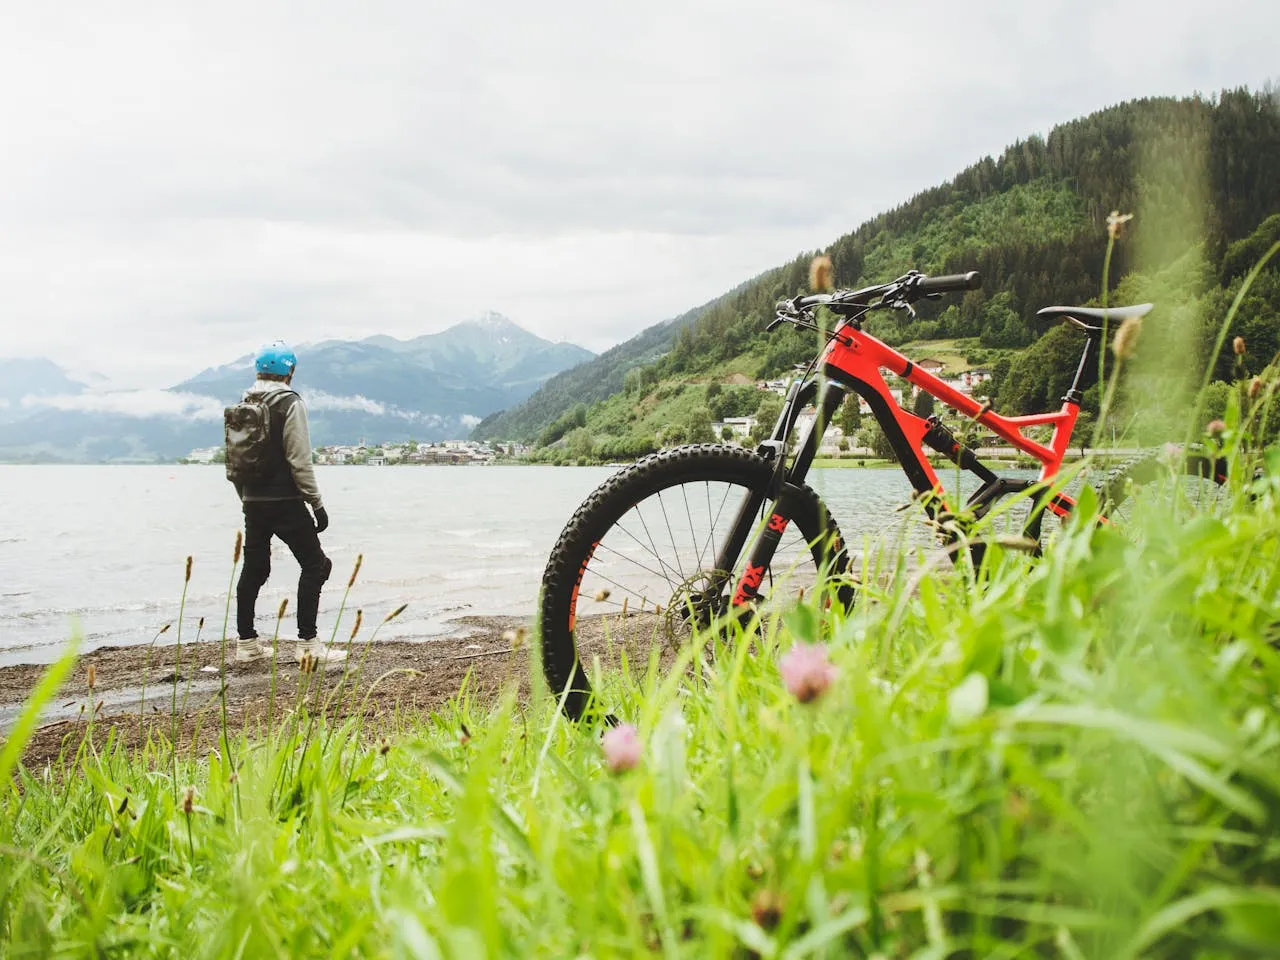
Before you roll out onto the trail, a few simple checks can save you from a rough day. Is your bike ready for what’s ahead? Making sure your tires are properly aired up and your chain is clean and lubed helps everything run smoother and more safely. Missing these easy steps could leave you walking your bike back instead of riding.
Besides the basics, there are a few other things you shouldn’t overlook. A quick pre-ride check of your brakes, shifting, and bolts can keep small issues from turning into big problems. If you’re not sure where to start, there are plenty of guides on essential bike maintenance and what to pack for the ride.
Getting into these habits doesn’t take much time, but it’ll help you get the most out of every ride. Grab your gear, do a quick tune up, and you’ll be set for your next adventure.
Essential Mountain Biking Gear
Staying safe and comfortable on the trail starts with the right gear. The basics include strong protective equipment, clothing for comfort, and a good way to carry water.
Helmet and Protective Gear
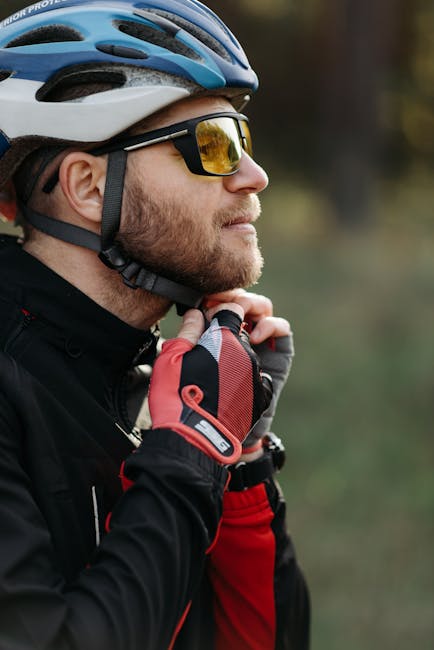
A helmet is the most important piece of mountain biking equipment. It protects your head if you fall or hit your head on rocks or branches. Make sure your helmet fits snug, sits level on your head, and straps firmly under your chin.
Besides a helmet, consider gloves to keep your hands comfortable and protected during rough rides. Padded gloves help absorb bumps and provide better grip on the handlebars. Many riders also choose knee and elbow pads for extra protection, especially on rocky or technical trails.
Eye protection is useful too. Wear clear or tinted glasses to shield your eyes from dirt, bugs, and sun glare. This keeps your vision sharp and your rides safer. For a detailed checklist of safety items, check out the mountain biking gear list.
Comfortable Apparel
Your clothing affects how you feel on the trail. Look for breathable, lightweight jerseys and shorts. Special mountain biking shorts have padding (chamois) to make long rides easier and help prevent chafing. Synthetic fabrics dry faster than cotton and help you stay cool.
Choose shoes with stiff soles for better pedaling power and grip. Some riders pick clipless shoes with matching pedals, while others like grippy flat pedal shoes for quick foot release. Don’t forget moisture-wicking socks to keep your feet dry.
Layer up if it’s cold or rainy. A light waterproof jacket can fold into your pack and help on muddy or windy days. For more on what to wear, head to this beginner’s mountain biking gear guide.
Hydration Options
Drinking water is key for staying strong and focused. Most riders use either water bottles or hydration packs. Bottles are simple—just pop one into your bike’s bottle cage. Hydration packs come with a built-in water reservoir and hose, so you can sip while you ride.
A hydration pack often has space for snacks, tools, and extra layers. It’s a good pick if you plan to be out for several hours. Aim to drink small amounts often instead of waiting until you’re thirsty.
On hot days, add an electrolyte mix to your water to help your body replace what it loses through sweat. To see more hydration gear options, check out this mountain biking essentials list.
Pre-Ride Bike Maintenance Basics
Taking a few minutes to check your mountain bike can help your ride go smoothly and prevent problems while you’re out. You’ll want to focus on tire pressure, brakes, and making sure your saddle and handlebars are in the right spot.
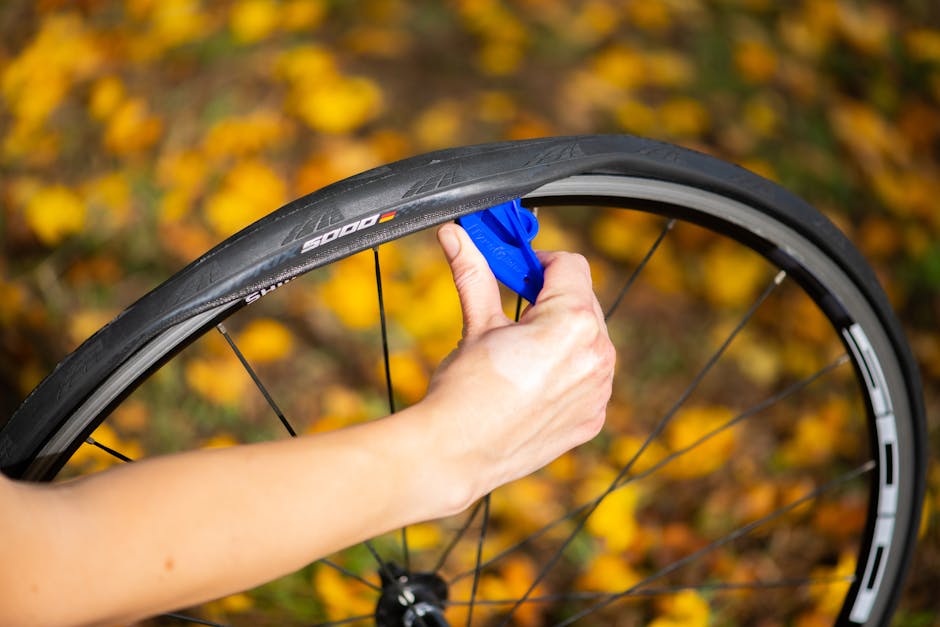
Checking and Airing Up Tires
The air in your tires can leak out over time, especially if you haven’t ridden in a while. If your tires feel soft, use a bike pump with a pressure gauge. Look at the side of your tire for the recommended PSI, which is usually a range like 30-50 PSI for mountain bikes.
Roll the tire with your thumb and see if it gives too much, then add air slowly. Too little air can make your ride feel sluggish and less safe on rough ground. Too much air makes the ride bumpy and can lead to less grip on the trail.
Inspect the tread for cuts or sharp objects stuck in the rubber. If your tire looks worn out or cracked, it’s a good idea to get it changed before your next ride. Regular tire checks are a basic but important habit—learn more about this first step from this pre-ride inspection checklist.
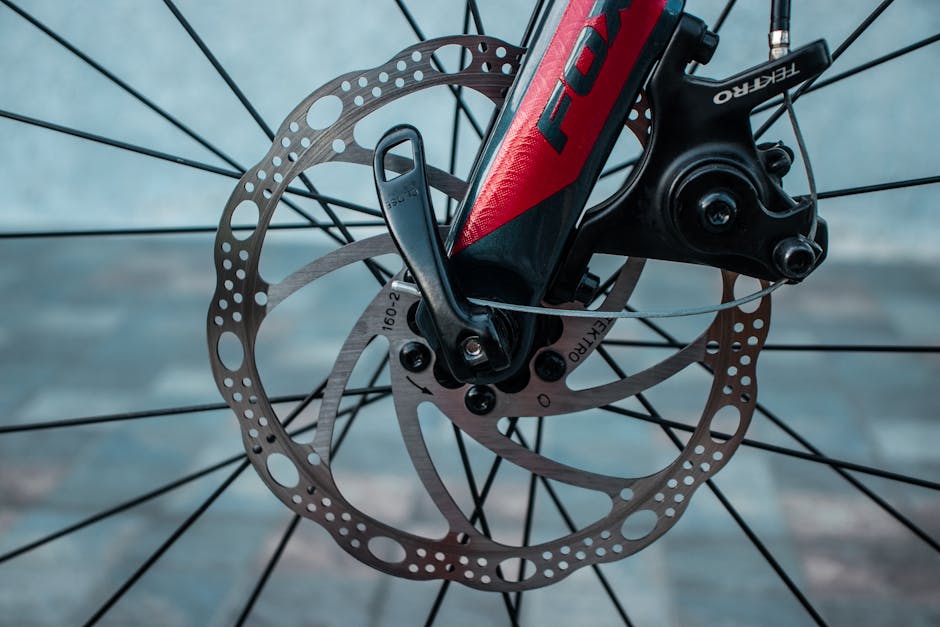
Inspecting Brakes
Brakes that don’t work well are a big safety risk and can ruin your day. Give both the front and rear brake levers a squeeze before you hit the trail. The levers should feel firm and not squishy.
If the levers pull all the way to the handlebar without much effort, your brake pads might be worn down or your cables might be loose. Look at the brake pads and check for uneven wear or if they’re too thin—less than 1/8 inch is a sign it’s time to swap them.
Spin both wheels and make sure the brakes don’t rub or make weird noises. If they do, you may need to readjust the position or center your calipers. Brakes that work right help you stop fast and keep you in control.
Adjusting the Saddle and Handlebars
A seat that’s too high, too low, or tilted wrong can make your ride uncomfortable or tire you out faster. Stand next to your bike and set the saddle so it’s about hip height. When you sit on the saddle, your leg should have a slight bend at the bottom of each pedal stroke, not fully straight.
Move the saddle forward or backward until it feels centered and balanced. For handlebars, make sure they’re tight and don’t twist when you push down. You can also adjust the angle to fit your comfort—some riders like them more upright, while others want a lower position for more control.
A quick test ride in a parking lot helps you spot things that feel off. Make adjustments as needed so you’re comfortable and ready to handle bumps, turns, and climbs on the trail. Getting your position right helps prevent sore muscles and keeps you in control on technical sections.
Keeping Your Drivetrain Smooth
A smooth drivetrain helps your mountain bike shift better, pedal easier, and last longer. Paying special attention to the chain, gears, and overall cleanliness makes a big difference.
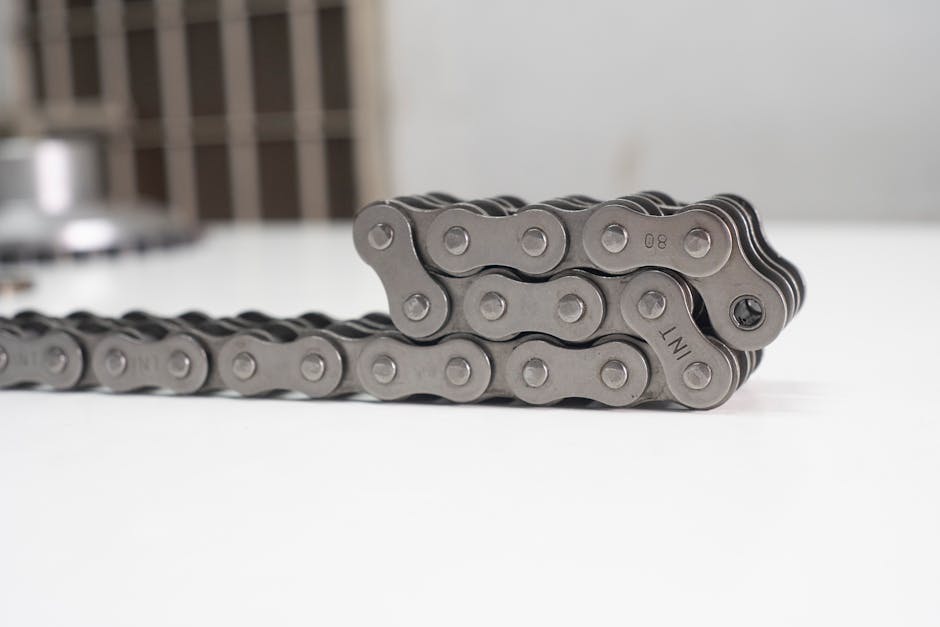
Lubing the Chain
Your chain needs lube to reduce friction and prevent rust. Before lubing, wipe your chain with a clean rag to get rid of dirt or old lube. Use a bike-specific chain lube, not household oil, for the best protection.
Apply one drop of lube to each chain link as you slowly spin the pedals backward. Wait a few minutes, then wipe off any excess. This step keeps the chain from picking up more dirt during your ride. Wax-based lubricants, like Boeshield T-9, are popular because they don’t leave your chain too greasy and are less likely to attract dusty grime—perfect for trail riding. Always bring a small bottle of lube on longer rides in case your chain dries out. For more tips, visit this page on mountain bike chain maintenance.
Checking the Gears
Gears can slip or make noise if they are out of tune. Shift through every gear before you leave for the trail to spot any problems early. Listen for clicking sounds or watch for slow shifting, especially with the rear gears.
If shifting feels rough, check that your derailleur moves smoothly. Sometimes the cable needs tightening with the barrel adjuster on your shifter. Make sure the limit screws are set so the chain doesn’t fall off the cassette or crank. If you can’t get them to shift right, it might be time for a professional tune-up. You can check out more guidance in this article on basic mountain bike maintenance.
Cleaning the Drivetrain
The chain, cassette, and chainrings collect the most grime. Dirt mixed with old lube wears down your parts and makes shifting harder. After every few rides, clean these parts to keep everything running well.
Start by using a stiff brush to knock off mud and debris from your drivetrain. For sticky dirt, use a degreaser made for bikes. Spin your pedals and scrub the chain, cassette, and chainrings until they look clean. Wipe dry with a rag and let everything air out before applying fresh lube. This regular deep clean, recommended in mountain biking maintenance guides, helps you avoid expensive repairs later.
On-Trail Repair Kit Essentials
Flat tires, loose bolts, and broken chains can pop up without warning. Packing the right tools means you can usually handle these problems right there on the trail and keep your ride going.
Multi-Tool and Spare Tubes
A good bike multi-tool is a must for any ride. It comes with different Allen wrenches, a Phillips screwdriver, a flathead, and sometimes even a small Torx wrench. These let you tighten handlebars, adjust your seat, or tweak your brakes whenever you need.
Spare tubes are the easiest way to deal with a puncture if you’re not running tubeless or when plugs aren’t enough. Bring a tube that matches your wheel size. Don’t forget to double-check the valve type (Presta or Schrader). Slip the tube into your bag or wrap it with a rubber band to save space.
Stay ready for anything — a Presta/Schrader-compatible pump (mounts to your bike) lets you handle flats and top-offs on the go, no matter your valve type. It is also useful to carry this type of air pump for friends or other riders you might encounter on your adventure.
You might consider carrying two tubes for longer rides, just in case. If you want to be extra prepared, throw in a small patch kit as a backup. Check out this repair kit checklist for more info on the basics.
Tire Levers and Mini Pump
Tire levers make it a lot easier to get your tires off and back on the rim. Carry at least two plastic levers so you can pry stubborn tires without damaging the rim. Stash them in a pocket or tuck them next to your spare tube.
A mini pump is essential for re-inflating tires after a flat. It should be light, sturdy, and compatible with your tube’s valve. Some riders use CO2 cartridges for quick fills, but a mini pump never runs out and always works, especially if you use both tubes and tubeless. Make sure your pump fits in your pack or can be attached to your frame.
A tire repair isn’t just about having a spare. Tools like levers and a pump are just as important for getting you back on the move. You’ll find all three listed as repair kit essentials for any mountain biker.
Chain Tool and Quick Links
A broken chain can end your ride if you’re not ready. That’s why a compact chain tool is worth its weight. Most bike multi-tools include one, but always check before you head out. A chain tool helps you remove damaged links and reconnect your chain on the trail.
Quick links (sometimes called master links) are just as important. These small metal pieces let you snap a broken chain back together without special tools, once you remove the bad part. Be sure to bring the right link for your chain type and width.
Practice using your chain tool and quick link at home so you know what to do. Putting these in a small bag or taping them to your multi-tool keeps you organized when you need them most. For advice on on-trail fixes, see this mountain bike emergency repair guide.
Final Pre-Trail Checks
Double-checking your bike before you leave can save you frustration and keep you safer on the trail. Tightening bolts and giving your bike a quick test ride helps catch small problems before they turn into bigger ones during your ride.
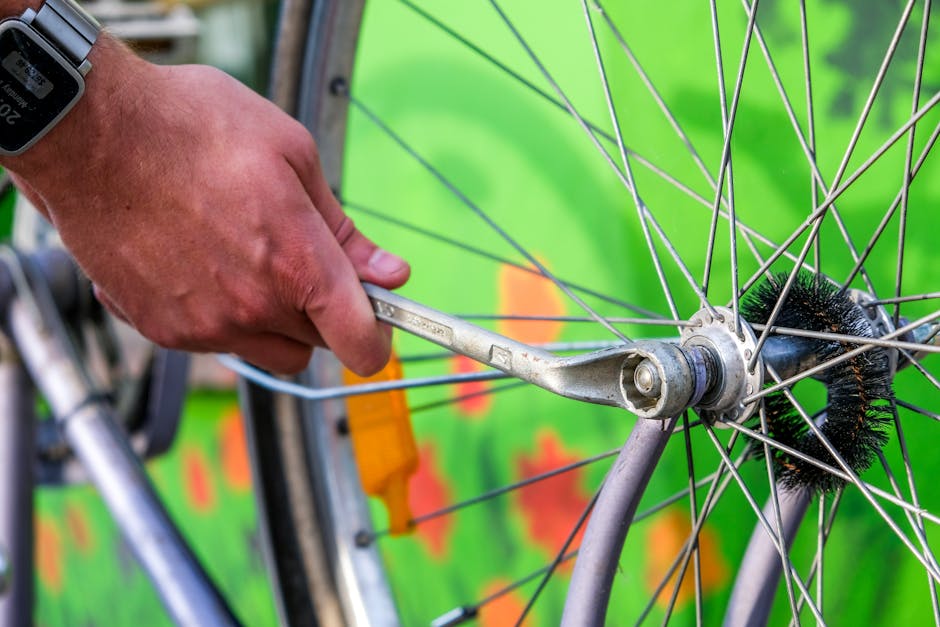
Bolt Tightness and Quick Releases
Loose bolts and quick releases can cause major issues on any ride. Go over your bike’s main bolts, especially on the handlebars, stem, seat post, and cranks. Use a multi-tool to make sure everything feels tight but not over-torqued.
Quick-release levers on your wheels must be locked down. Wiggle the lever to make sure it feels firm. If your bike has thru-axles, double-check that they are properly tightened. Your brakes should not rub or feel loose when you move the wheels.
A simple checklist can help you remember:
- Handlebars: Firm, no twisting
- Wheels: Quick releases or thru-axles locked
- Cranks and pedals: Secure, no play
- Seat post: Tight, won’t slip
Taking a minute here prevents problems like a crooked seat or wobbly wheel out on the trail. For more detailed inspections, check out this pre-ride bike checklist.
Test Ride Around the Block
Before tackling any hills or jumps, hop on your bike and ride around your neighborhood or driveway. This simple test lets you catch issues that are easy to miss when the bike is on a stand.
Shift through all your gears. Listen for any strange noises and make sure the chain moves smoothly. Pull both brakes one at a time and make sure they stop you quickly. Check that your bike handles well and doesn’t feel unstable.
Bounce the bike a little as you ride. This helps you notice anything loose or out of place. If something feels off, it’s better to fix it now than deal with it halfway down the trail.
Doing a quick ride before you load up your gear means you’re not stuck fixing annoying issues once you reach the trailhead.